 EN
EN

Creating perfectly symmetrical bows with christmas ribbon is a fundamental skill for holiday decorating, gift wrapping, and festive crafts. Many people struggle with uneven bow loops because they lack a systematic cutting technique. The secret to achieving balanced, professional-looking bows lies in understanding proper measurement, folding methods, and precise cutting angles. Whether you're preparing decorations for a Christmas tree or wrapping gifts with elegant christmas ribbon, mastering this technique will transform your holiday presentations from amateur to polished in minutes.
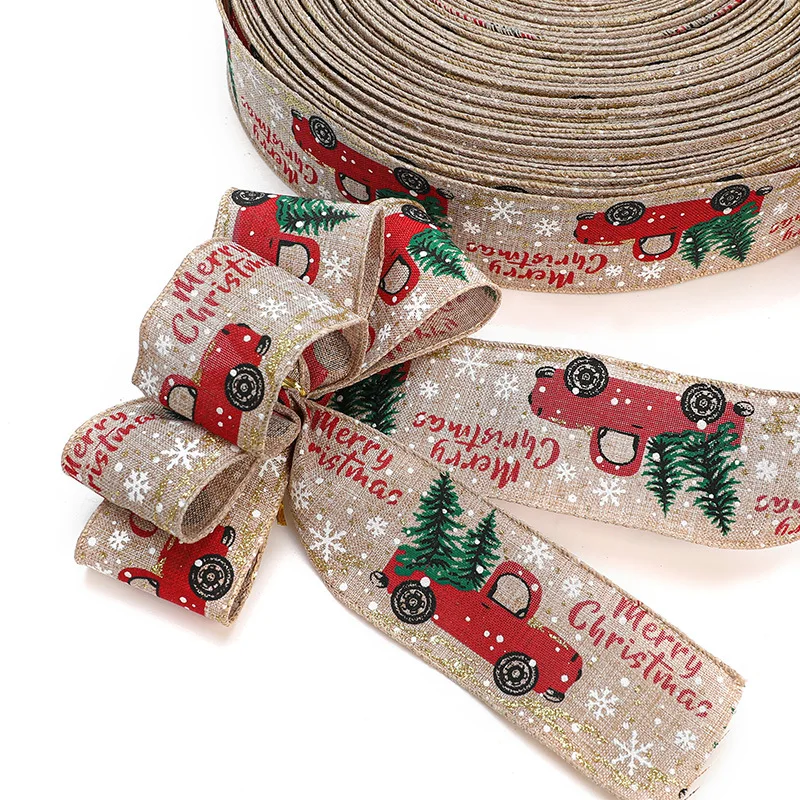
The key to perfect bow loops is preparation and measurement. Before you cut christmas ribbon, decide your desired loop size and work with equal lengths. Most holiday decorators cut their christmas ribbon into strips that are typically 12 to 18 inches long, depending on the final bow size they envision. Understanding the mathematics behind loop creation ensures both sides of your bow remain symmetrical. With the right approach, cutting christmas ribbon becomes an efficient, repeatable process that yields consistent, beautiful results every single time.
Measure and Mark Your Christmas Ribbon Accurately
Establish Your Loop Size Before Cutting
The foundation of even bow loops starts with deciding your target loop dimensions. Before you cut any christmas ribbon, measure the width and length you want your finished loops to be. If you desire 3-inch loops, your strip of christmas ribbon should be approximately 12 to 14 inches long, accounting for the center tie section. Mark the midpoint of your christmas ribbon strip with a pencil or fabric marker. This midpoint becomes your center reference point and ensures both halves will be equal in length when you proceed to fold and cut.
Use a Ruler or Template for Consistency
Professional bow makers use templates or rulers to maintain consistency across multiple bows. Lay your christmas ribbon flat on a clean surface and use a ruler to mark cutting lines at precise intervals. If you're cutting multiple strips of christmas ribbon for several bows, establish identical measurements for each piece. Many crafters create cardboard templates sized to their preferred bow dimensions, then wrap their christmas ribbon around the template to ensure uniform loop height. This systematic approach eliminates guesswork and produces reliably even results every time you work with christmas ribbon.
Fold Your Christmas Ribbon Into Symmetrical Loops
Create the Classic Loop Fold Technique
Once you've marked and cut your christmas ribbon to the correct length, fold it into loops with precision. Bring both ends of your christmas ribbon toward the center, creating two loops that mirror each other. Hold the center point firmly between your thumb and forefinger. The loops should curve outward equally on both sides. This is the critical moment where many people make mistakes—uneven pressure or casual folding leads to asymmetrical bows. Press both loops gently but firmly to establish their shape. Your christmas ribbon should form a perfect figure-eight or bowtie configuration at this stage.
Pinch and Hold the Center Point Securely
Maintaining tension at the center of your christmas ribbon is essential for keeping both bow loops even during the cutting phase. Use your dominant hand to hold the center point where both loops meet, applying consistent pressure throughout the process. Some decorators prefer using a small clip or clothespin to hold the center of their christmas ribbon steady while they work. This stabilization prevents the loops from shifting or changing shape unexpectedly. A secure center hold ensures that when you cut christmas ribbon at the ends, both loops remain perfectly aligned and symmetrical in their final form.
Cut Your Christmas Ribbon at the Right Angle
Execute the Perfect Diagonal Cut
The cutting angle is what separates amateur bows from professional-looking christmas ribbon creations. Rather than cutting straight across, angle your scissors at approximately 45 degrees. This diagonal cut across your christmas ribbon creates pointed, elegant loop ends that enhance the bow's visual appeal. Position your scissors so both loop edges receive the cut simultaneously, ensuring symmetry. Move the blade smoothly and decisively through the christmas ribbon fabric. Hesitant or jagged cuts result in frayed edges and uneven loop points. A single, confident diagonal cut through your christmas ribbon produces clean, matching ends on both sides.
Trim and Adjust for Final Symmetry
After your initial diagonal cut through the christmas ribbon, examine both loops carefully to confirm they're truly even. If one loop appears slightly longer or shorter, make minor trim adjustments to the christmas ribbon ends. Small scissor adjustments to your christmas ribbon can perfect the symmetry. Some decorators prefer a second, shallower cut to create pointed tails. This technique through your christmas ribbon adds refinement and ensures the bow loops maintain visual balance. Always remember that precision with your christmas ribbon cutting improves with practice—your first attempts establish the foundation for increasingly perfect bows in future projects.
FAQ
What is the ideal length for christmas ribbon bow loops?
The ideal length for christmas ribbon bow loops typically ranges from 2.5 to 4 inches, depending on your decoration style and ribbon width. Larger ribbons, such as burlap or satin christmas ribbon, look best with loops in the 3 to 4-inch range. Thinner decorative christmas ribbon works well with smaller 2 to 3-inch loops. Your personal preference and the project requirements should guide the decision. Always test your chosen size with a practice piece of christmas ribbon before committing to your final bow batch.
Can I use regular scissors to cut christmas ribbon, or do I need special tools?
Regular sharp scissors work perfectly for cutting christmas ribbon, though professional-grade fabric scissors or rotary cutters provide cleaner edges on premium materials. Dull scissors tend to fray or tear christmas ribbon rather than slice cleanly through it. For best results with any christmas ribbon type, use scissors or tools that are specifically maintained for cutting fabric and craft materials. Serrated or craft-specific scissors can also minimize fraying on delicate christmas ribbon varieties.
How do I prevent christmas ribbon from fraying after cutting?
Preventing fraying after cutting christmas ribbon involves choosing the right cutting technique and material treatment. Using sharp scissors with a single, decisive cut minimizes fraying of christmas ribbon fibers. For synthetic christmas ribbon materials, carefully passing the cut edge briefly near (not in) a flame can seal the fibers without damaging them. Fabric glue applied lightly along the cut edges of christmas ribbon provides permanent fraying prevention. Always test any fraying prevention method on scrap christmas ribbon first to ensure it doesn't damage or discolor your final project.