 EN

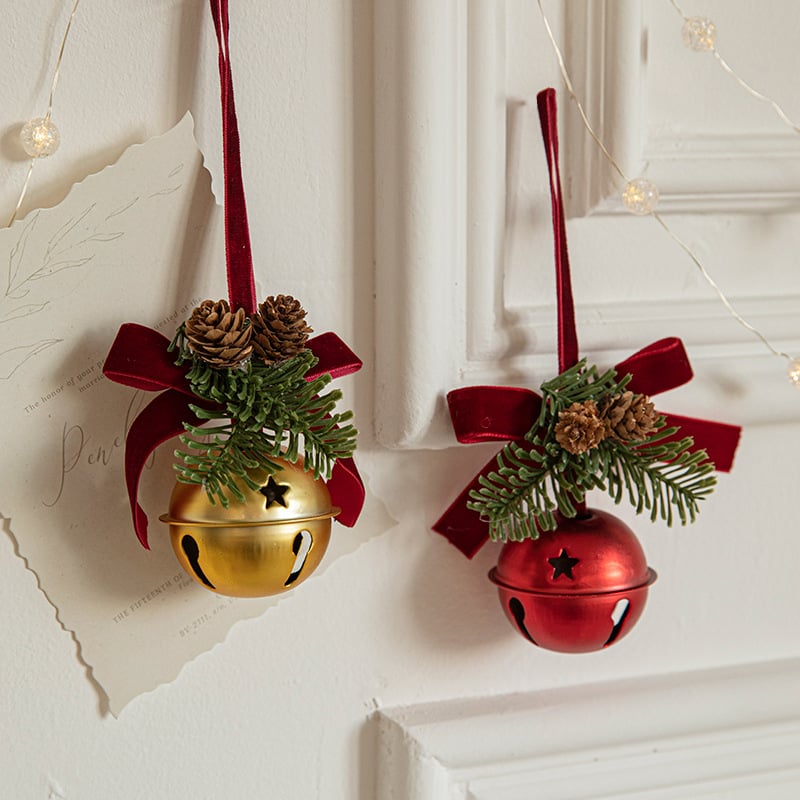
Creating an authentically aged look for your silent decorative christmas bell requires understanding both the aesthetic principles of vintage decor and the practical techniques that bring that patina to life. Whether you're restoring family heirlooms or crafting new decorations to feel time-worn, the process of aging a christmas bell involves controlled distressing, selective darkening, and strategic texture application. This approach transforms modern or bright-finish christmas bells into pieces that evoke nostalgia and craftsmanship, making them feel like treasured keepsakes passed through generations rather than fresh holiday purchases.
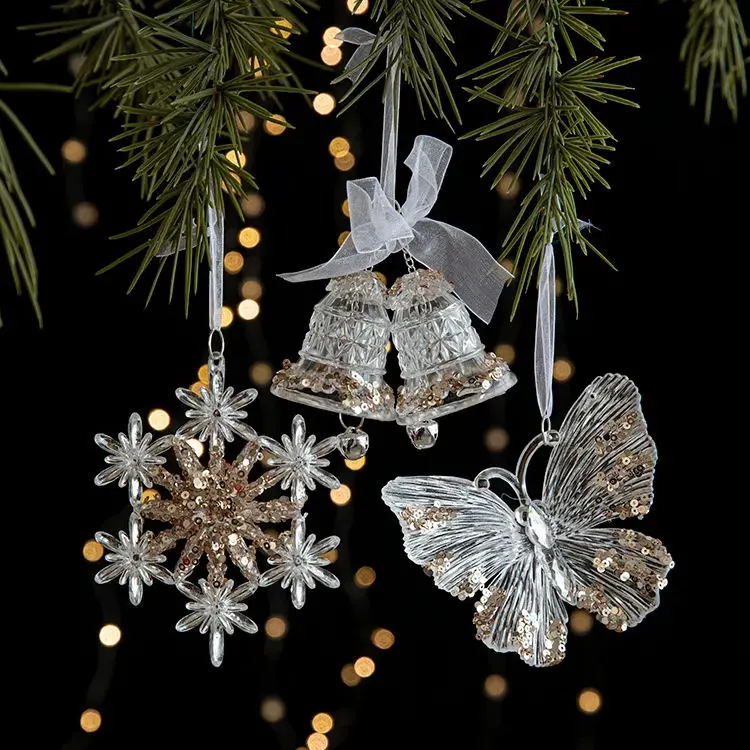
The silent decorative christmas bell is a popular choice for minimalist holiday displays because it delivers visual impact without sound, allowing you to control your acoustic environment while maintaining festive ambiance. Aging a silent christmas bell effectively combines chemistry, artistry, and patience, turning it into a conversation piece that feels authentic and vintage. Understanding the different materials your silent decorative christmas bell might be made from—whether metal, ceramic, or resin—is essential because each responds differently to aging techniques and requires customized approaches for the most realistic results.
Understanding Your Christmas Bell Material and Preparation
Identifying the Base Material of Your Christmas Bell
Before applying any aging techniques to your christmas bell, you must accurately identify its material composition. A metal christmas bell made from brass, copper, or steel ages differently than a ceramic christmas bell or a resin-cast decorative christmas bell. Metal tends to oxidize naturally and responds well to patina solutions, while ceramic christmas bells benefit from paint distressing and crackle finishes. Resin decorative christmas bells often require primer application before aging techniques become effective. Run a magnet near your christmas bell; if it sticks, you have a ferrous metal that will respond well to rust-based aging. If it doesn't stick, you likely have brass, copper, or aluminum, each requiring specific chemical treatments. Knowing your material prevents wasted effort and ensures your aging techniques produce authentic results rather than damage.
Cleaning and Prepping Your Decorative Christmas Bell
A clean surface is non-negotiable when aging your christmas bell because dirt and manufacturing residue will interfere with patina formation and paint adhesion. Wash your decorative christmas bell thoroughly with warm soapy water and a soft brush, removing any dust, oils, or protective coatings. For metal christmas bells, use white vinegar to cut through stubborn residue and rinse completely. Dry the christmas bell thoroughly with a lint-free cloth, as moisture interferes with both paint and chemical aging processes. If your silent decorative christmas bell has a glossy factory finish, lightly sand it with 220-grit sandpaper to improve mechanical adhesion for aging products. This preparation step transforms your christmas bell from a bright new object into a receptive surface ready to accept an aged appearance that will genuinely adhere and weather naturally over time.
Applying Authentic Aging Techniques to Your Christmas Bell
Creating Patina and Oxidation Effects on Metal Christmas Bells
Metal christmas bells respond dramatically to patina solutions that chemically age their surface, creating authentic oxidation that looks like decades of natural weathering. For a copper or brass christmas bell, apply a commercial patina solution following product instructions carefully—these typically involve painting on chemical agents that darken and color the metal over hours to days. For an iron or steel christmas bell, ferric chloride or vinegar-based rust accelerators can create convincing rust tones and surface texture. After applying patina to your decorative christmas bell, allow it to cure fully without disturbance, then seal it with a matte clear coat to prevent further deterioration and preserve the aged appearance exactly as you've created it. Real patina on an aged christmas bell shows color variation, with deeper tones in crevices and lighter areas on raised surfaces—mimic this naturally by concentrating chemical application in recesses and corners.
Distressing Paint and Layering Effects on Ceramic and Resin Christmas Bells
Ceramic and resin decorative christmas bells benefit from distressed paint techniques that simulate wear patterns consistent with age. Prime your silent christmas bell with a bonding primer appropriate to its material, then apply a base coat in a color associated with vintage pieces—soft golds, aged silvers, or muted reds work well. Once the base coat dries completely, apply a contrasting top color, then use 120-grit sandpaper to selectively remove paint from edges, corners, and high-traffic areas where a real aged christmas bell would naturally wear. This technique reveals underlying layers and creates authentic-looking age patterns. For enhanced realism on your christmas bell, apply dry-brush highlights in metallic tones along worn areas, suggesting both the patina beneath and the way light catches aged surfaces. Multiple thin layers create depth impossible with single-coat approaches, so resist the urge to cover your christmas bell completely with paint in one application.
Advanced Techniques for Vintage Authenticity of Your Christmas Bell
Adding Texture, Weathering, and Surface Details to Your Decorative Christmas Bell
True vintage pieces show weathering patterns unique to their use and storage history, and your decorative christmas bell can mimic this authenticity through deliberate texture application. Use a dry brush technique with diluted metallic paint to apply streaks that suggest where moisture ran down your christmas bell over years, concentrating effects near the base and inside the rim. Crackle medium applied between paint layers creates convincing age crazing effects on ceramic or resin christmas bells. For a metal christmas bell, use fine steel wool to create directional scratching patterns that suggest handling and cleaning over decades. These weathering details should never cover your christmas bell uniformly; real aging is random and contextual. Apply texture more heavily where dust would accumulate—in recesses and at joints—making your decorative christmas bell look like it actually was stored in an attic or display case for generations rather than carefully aged in a single session.
Strategic Application of Darkening Washes and Final Protective Sealing
Darkening washes create depth and shadow that make your aged christmas bell feel genuinely vintage rather than flat or artificially aged. Prepare a wash by mixing black or dark brown craft paint with water to create a thin, transparent glaze, then carefully apply it to your christmas bell, allowing gravity to pull it into crevices. This technique makes a decorative christmas bell's details more pronounced while darkening overall tone. Once your christmas bell achieves the aged appearance you want, seal it immediately with a matte clear coat appropriate to its material—this protects your aging work and prevents accidental damage. For a metal christmas bell, use a wax-based sealant that allows the patina to continue developing slightly while preventing excessive corrosion. For ceramic or resin christmas bells, a simple matte polyurethane or acrylic sealer preserves your painted work while providing subtle protection that aging wouldn't naturally have provided.
FAQ
Can you age a silent decorative christmas bell without damaging its original structure?
Yes, properly executed aging techniques preserve your christmas bell's structural integrity when you follow material-specific guidance and avoid overly aggressive chemical treatments. Paint distressing, patina application, and textural effects work on the surface only, never requiring modification of the christmas bell itself. Always test any chemical on a hidden area first, and follow product instructions precisely. A silent decorative christmas bell will remain fully functional after aging because these techniques are purely aesthetic and don't affect its internal mechanisms or sound properties.
How long does it typically take to age a christmas bell authentically?
The timeline for aging your decorative christmas bell depends on technique and material: chemical patina on metal typically takes 24–72 hours to develop fully, while distressed paint requires at least 48 hours for all layers to cure completely. Layered approaches using multiple techniques might require 3–5 days total, including drying time between applications. Patience yields better results than rushing your aged christmas bell through the process; premature handling or sealing can disrupt aging effects and undermine authenticity.
What materials work best for achieving authentic vintage appearance on a christmas bell?
Brass and copper create the most convincing patinas because they oxidize naturally and respond dramatically to chemical aging—your christmas bell will develop rich blues, greens, and browns that feel genuinely historical. Ceramic decorative christmas bells work beautifully with crackle finishes and distressed painting, while resin bells accept paint techniques well but require careful priming. A silent metal christmas bell with natural patina potential is ideal for aging, though quality paint techniques can make any material look authentically vintage with sufficient skill and layering.